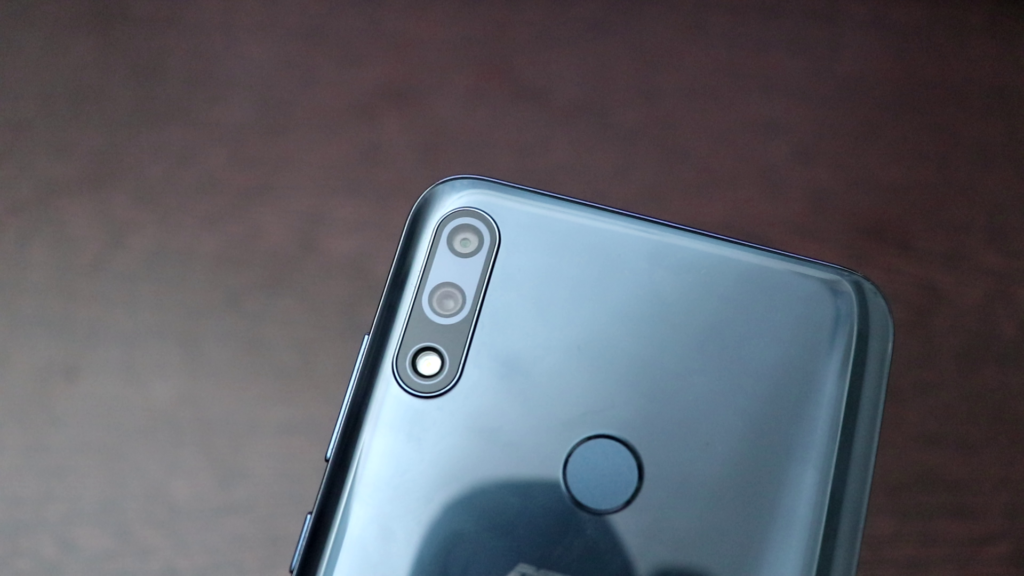
How to Install Google Camera on Asus Zenfone Max Pro M2 with Samples
Asus Zenfone Max Pro M2 is one among the best Budget Smartphones currently available with a Good Camera for it’s Budget. But you can make it even better by Installing Google Camera App on the Asus Zenfone Max Pro M2. Here is a Simple Guide which can help you to Install Google Camera on Asus Zenfone Max Pro M2.

How to Install Google Camera
Step 1 : Enable USB Debugging on Your Smartphone
On your Max Pro M2, Go to Settings — System — About phone and Tap the Build number Option 7 times to enable Developer Options.
Then go to Developer Options & Enable USB Debugging.
Step 2 : Boot into Fast Boot Mode
Switch Off your Smartphone and then Press and Hold Power Key & Volume Up keys Simultaneously.
Then Connect your Max Pro M2 to your PC/Laptop.
Step 3 : Install ADB in Your PC/Laptop
Download the ADB File using this Link and Install it. (You just need to enter “Y” and Press “Enter” in your Keyboard)
Step 4 : Open Powershell window
Press the Right Click on your Mouse while you are pressing the Shift Key in your keyboard and Select “Open Powershell Window Here”
Step 5 : Type Command to Enable Camera2API
In that window enter the Following Command
fastboot oem enable_camera_hal3 true
Now you can reboot the Zenfone Max Pro M2 by entering another Command
fastboot devices
Now we have successfully enables Camera2API and now you can just install the suitable Google Camera APK and start Clicking Some amazing Pictures.
Required Files to Download:
ADB Setup File : Click Here
Google Camera Pixel 2 Port : Click Here to Download
Google Camera Pixel 3 Port : Click Here to Download
Commands to be Used:
fastboot oem enable_camera_hal3 true
fastboot devices
After you install the Google Camera You can take better Pictures on your Zenfone Max Pro M2 when compared to the Stock Camera App.
Also if this Guide was helpful, do Post your Amazing Clicks on Social Media using the Hashtag #TechSatire . I’ll share those Pictures.
